Thursday 27 February 2014

Photography Evaluation

Hello everybody. Seeing how it is my last day before half-term (though 13.02.2014 will be when I'll be coming to college just to finish of my blog post on Adobe Illustrator.) I will be doing my evaluation on what I did in photography over the last few months in college. So without further adieu, here's my photography evaluation.

With how my photographs have turned out, I think if I were hypothetically a famous photographer, both my photographs and my Photoshop made pictures, (of which I maybe proud of with how they turned out!) might probably be displayed at an art gallery for people to see and give analytical opinions on them.

Here are my pictures, displayed at the bottom.


As you can see, I went around the town of Blackburn and took pictures of all the everyday sights you would see everyday, for those actually from Blackburn who are reading this post. As for the last six pictures, I combined my pictures of the Blackburn cathedral and the BT tower that's near Blackburn University with Photoshop, and I had experimented with some of the various effects that were available to use so that I could manipulate the same picture in many possible ways.

Looking at some of the more colourful pictures, they actually have a bit of influence from Sandy Skoglund, whom if you may remember, was an photography artist that I had talked about in one of my previous blog posts.

For the sake of artist's research, here are some of her pictures so that some of you may get a better idea of what I'am talking about.


As you can imagine, my pictures had been made using similar methods to how Ms/Mrs Skoglund had made her photographs by using bright colours to give a very surrealistic and colourful atmosphere, which gives these pictures both a creative charm and it adds a nice flare to both her and my work.

The black and white copy of my original picture, underneath the more colourful pictures, has a bit of an old world photographic vibe, akin to the early 1900's mixed with a dab of Photoshop.

I have also made a few Panaramic pictures, (different photographs of a single place from different perspectives.) Here are my examples.

You might remember these pictures from my previous blog posts.What I have already explained to you before, I will have to explain again for the sake of this evaluation. So what I had done to create these pictures was that I had to go around town, take photographs of the same place from different perspectives, upload the pictures onto the computer, and use Photoshop to combine these pictures together like a jigsaw puzzle. They all came out alright, but I like the picture of the bank better because that picture, to me, was the picture that went really well in the process of of it's creation, especially the street area, because all the pieces really fit well together. But I will say however that the bottom picture maybe a little over exposed, and if I had the time to improve it, I would tone down the light to make it slightly darker, and make the picture more balanced in terms of quality. 

Wednesday 26 February 2014

Biographical Artists Research part 1- R.B. Kitaj

Hi everyone! This term my class and I have been doing some biographical artists research for our final major project. So I'am now going to showcase my evaluation on some of the artists I have researched and talk a little bit about them, their work and what I think of them as best as I can.
So here are the artists and my full opinion on them.

1.) R.B. Kitaj
Ronald Brooks Kitaj (Ki-TIE) was an American Pop artist, born in Chagrin, Ohio from 29th October 1932, Moved and lived most of his life in England during the 1950's onwards, and died on 21st October 2007 (8 days before his birthday!) from possible suicide.
This artist's pictures are drawn and printed to seem like they were actually collages, because of his use of "line and overlapping planes". He tends to add in bright colours sometimes even when the subject matter displayed in his pictures is supposed to convey a serious topic because his pictures convey allusions to real life subjects such as his Jewish heritage, political history and trivial subjects like art and literature. Kitaj has  had a bit of an influence on Pop art in Britain, which has been said to have had some significance. sometimes his pictures are more "slice of life" meaning that they are just doing normal things in a picture.

Now here are some of his pictures and my full critiques on everyone of them.

The Refugees
I think in my opinion that this picture is about people just going about their day, though there are several things unfortunate about this piece as well, such as the lady in the background not wearing any trousers and just lying down in the street, this could imply that she may be a prostitute. there is also the man in red, right in the centre of the picture, sitting on a chair in the middle of the alleyway for some reason. He seems like the kind of person who's just sitting in a strange place that he is not supposed to while having a picnic. Also the colours are vibrant (the red and yellow in particular!) it has that nostalgic feeling going on there, it is very nice to look at.
Apotheosis of Groundlessness
Now for this picture, it appears to be either a bus or train station of some sort.(though a bus station seems very likely!) The colors have a very retro feeling, but they also have bit of an Eric Carle (author of The Very Hungry Caterpillar) style as well due to the artist making it look like he used construction paper (though who's to say that he probably did because we are talking biographical art after all!) Once again I like the use of colours, but this time there is more yellow and orange in this picture. The rest of the colours only seem to be use sparingly for the other bars, and the rest of the picture. (Like the light blue sky through the window that as stated before, looks like construction paper.)
Artists for Peace
This picture may seems simplistic, but I think the theme that Mr. Kitaj was going for might've been to support other artists around the world or basically just artists from England, but every artist in general should have all the support that they need but I digress. Anyway the colours in this picture are very limited, with red being the brightest colour of them all. The content seems to contain little people, a man with a beard, standing in the middle wearing red, a few squares and rectangles  taking some of the space in the white void, a red piece of paper with scribbles on it, a vase, a green rectangle in the top right corner containing a flower facing horizontally, a potato with a flower with multicoloured petals sprouting out of it and plenty of other stuff that would take forever to talk about. So yeah it's surrealistic, but that probably indicates that this picture also encourages artists to use their imagination.(It would seem very likely to me anyway.)

The Autumn of Central Paris 
This is apparently a picture that is set in Central Paris. There seems to be people gathering around to watch a show, but they don't seem to be happy. On the bottom centre, there is a red man (literally all red.) holding a red pick axe and it looks a bit like he is stabbing the nearest man with it.(Unless of course it's just a figurine, because due to the art style we'd be sure that a person would kill someone in Central Paris for no given reason, because other wise it would come off as being genuinely creepy out of context. But then again, R.B. Kitaj's other pictures have very dark subject matter, so it probably wouldn't seem out of place for him, but at least not to over the top.) The colours are once again bright and vibrant, with red once again being the stand out colour. The use of yellow, blue and orange adds to the picture very well as it compliments the picture very nicely.

Friendship and the Shadow of Betrayal
Now in this picture, there are a group of people on a day out, and there is a dark figure on the right lurking next to the person with the white coat, blue scarf and cream hat. This picture is notably a bit more cruder than some of Kitaj's other pictures, though that's mostly with the bottom half of the picture. As always the colours are rather vibrant, and they all stick out from one another. Those people look like they are looking out or through a window. (It doesn't look like it's really indicated though.) However it does look like they have luggage, so they must be either catching a train to go on holiday or they are already on a train and they are already on their way to their destination. Back to the shadow figure, I think he might be either a criminal or someone who puts all of the four friends into a conflict. (Probably the former, he might've been a friend who's about to betray his friends by murdering one of them, and then he would get himself arrested for murder. That would've been an interesting conflict that probably could've happened in Kitaj's life at some point while he was on a trip to somewhere for a holiday or a visit to family.)

Do you Know the Country
Now for this last picture, it might be based on what might've happened during the second World War from the artist's perspective. It could also possibly have a connection to the Jewish Holocaust that was happening around during his time, which by the time he was 7 years old had just started, and by the time the war ended in 1945, he would approximately have been 13 years old. So World War II might've made a huge impression on him as he got older. There is very limited colour in this picture this time around, but what little colour this picture has is still vibrant as always. Anyway the lack colour gives this particular artwork a sense of sadness and danger that you know that something doesn't even seem right.

Mr. Kitaj's pictures in general are sometimes abstract and semi-abstract, they can be  surrealistic at times through a visual perspective, they can more often than not feature bright vibrant colours while sometimes satirizing serious subjects like the Holocaust of the second World War, but all in all, they are very pleasing to look at. They can also be very vague, but then again, lots of artwork can tend to have vagueness in them to leave viewers to use their imaginations and come up with their own interpretations to draw their own conclusions.

Now onwards to the next artist: Gilbert and George (a duo!)

Saturday 22 February 2014

Contructivism Case Study

  1. Contructivism came to prominence during/after the first World War, a period between 1914-1921.
  2. The main artists involved in this movement included but not limited to Naum Gabo, El Lissitzky, Vladimir Mayakovsky, Aleksandr Rodchenko and Varvara Stepanova.
  3. Their aims and inspiration was that they had wanted to create a utopian society, (an ideal and equal society with people who tolerate and do not discriminate.) they also wanted to explore the textual and spatial qualities and combinations of contemporary materials and they also wanted to make art more accessible as part of the ideal utopian society. So they decided that they would use  more everyday materials and refused to use paint whatsoever.
  4. The different materials that they worked with included metal, glass, wood and cardboard, using them in architecture, design, sculpture and painting.
                                                   
5. This poster (that I found through Google Images!) was made by Aleksandr Rodchenko. the colours used for this poster are red and black, because red is used as the colour for the Russian flag, red is a colour commonly associated with anger, (e.g. "seeing red") so by using red Rodchenko roused the peoples' anger to rise up in the name of their country. In his compositions, he used geometric shapes and customised fonts, which underpinned his design and gave a nostalgic feel to his work.

6. This is a piece of artwork by El Lissitzky. His work is best described as usually having three dimensional shapes which usually tend to have contradictory tones. He also uses a sort of geometrical style in his work. He also works with different perspectives which adds a lot of variation to the depth of the images from time to time. It also keeps the observer occupied for a long time.

Thursday 13 February 2014

Exploring Adobe Illustrator

(Entry 1: 07.01.2014)
Hello everyone, long time no see! Hope you all had a Happy New Year, because I'am back in college and today I have been working with Adobe Illustrator. I've been playing about with the tools to make some shapes, and for the next couple of weeks I will be playing with them even more. So anyway, here are some examples.


To make these shapes, I had to use the pen tool a lot, to make the shapes, by clicking on the board for the squares, and click and drag for the squiggly shapes.(And the additional circle that my tutor helped me with as a demonstration.) I had only used the selection tool to move the shapes around the board.
I had filled in the shapes with colour by selecting Windows and used the Swatch bar. I then had to fill in the Strokes (outlines) with colour as well, after I had made them thicker by increasing the Stroke weight.

And now I have to get going now, but I will be back next week to fill in some more information about  Adobe Illustrator and what tools to use. So I will see you next week. Bye!


(Entry 2: 14.01.2014)
Hello everyone, I'm back! And I'am now going to show you what I have been doing today using Adobe Illustrator. So I have been using the pen tool to make more shapes. (Square, circle, pentagon, triangle and star.)

I had some trouble making the circle at first, but soon I had almost gotten the hang of it.
Of course I was trying to slightly fix the circle by using the eraser tool to little success. So I just left it.
These are the final results of the square and circle pen drawing with the last line selected.
This was when I used the Selection tool to move and re-size the circle.

This was when I used the Selection tool to select the triangle, right after I had drawn it.

This is my drawing of the pentagon, already selected right after drawing it.

This was my first time using the Rectangle tool to draw a square. I was playing around with this tool to draw rectangles. This was after I had drawn a star on the bottom using the pen tool for the last time.(For now.)

I had to get rid of the second rectangle because it wasn't needed, as I was just trying to draw a square. I had clicked on Edit then Cut and I managed to get rid of the rectangle.

In order to draw an exact circle, I had to shrink it downwards so that it didn't look like a rectangle any more. I also had to move the square next to the Pen tool drawn square, using the Selection tool again.

Here are the final squares, one drawn using the pen tool and the other drawn using the Rectangle tool.

Using the Elipse tool, I had to draw a circle. and then I had to move next to the circle drawn using the Pen tool.

Using the Star tool, I had managed to create a star. I had increased it's size for a brief moment, then I shrunk it down and put it on the bottom next to the star I had previously drawn using the Pen tool.

There I go, using the Polygon tool to draw a pentagon, right after I put the star next to the Pen tool drawn star. Also the green line indicates the width and height of it's subject matter.

Underneath the triangle was the pentagon that I had selected (I think).

I had selected the Pen tool drawn pentagon because I was trying to downsize it and move it around a little.

I was also moving around the square a bit as well. Notice how similar these squares are by comparison

Now to make the triangle, I had to decrease how many sides there to make using the Polygon tool again.

After making the triangle, I had it turned over and near the edge of the page.

I had to downsize the triangle and then move it next to the Pen tool drawn triangle.

Now it was time to thicken the outline of the Pen tool drawn shapes.

All I had to do was increase the shapes Stroke by 6% (originally 8% for the square at first) and change the outline to whichever colour I chose.

I would increase the outline of the shape, it would usually start out as black.

Then I would choose a random colour from the Colour settings.

And there you go, a cerulean blue triangle.

And here are all the other shapes already coloured in with the star already selected.
And that's all I have for today, so I will continue to experiment much further with this project and show you what else I have done with Adobe Illustrator. So see you all next week, Bye!!!!


(Entry 3: 22.01.2014)
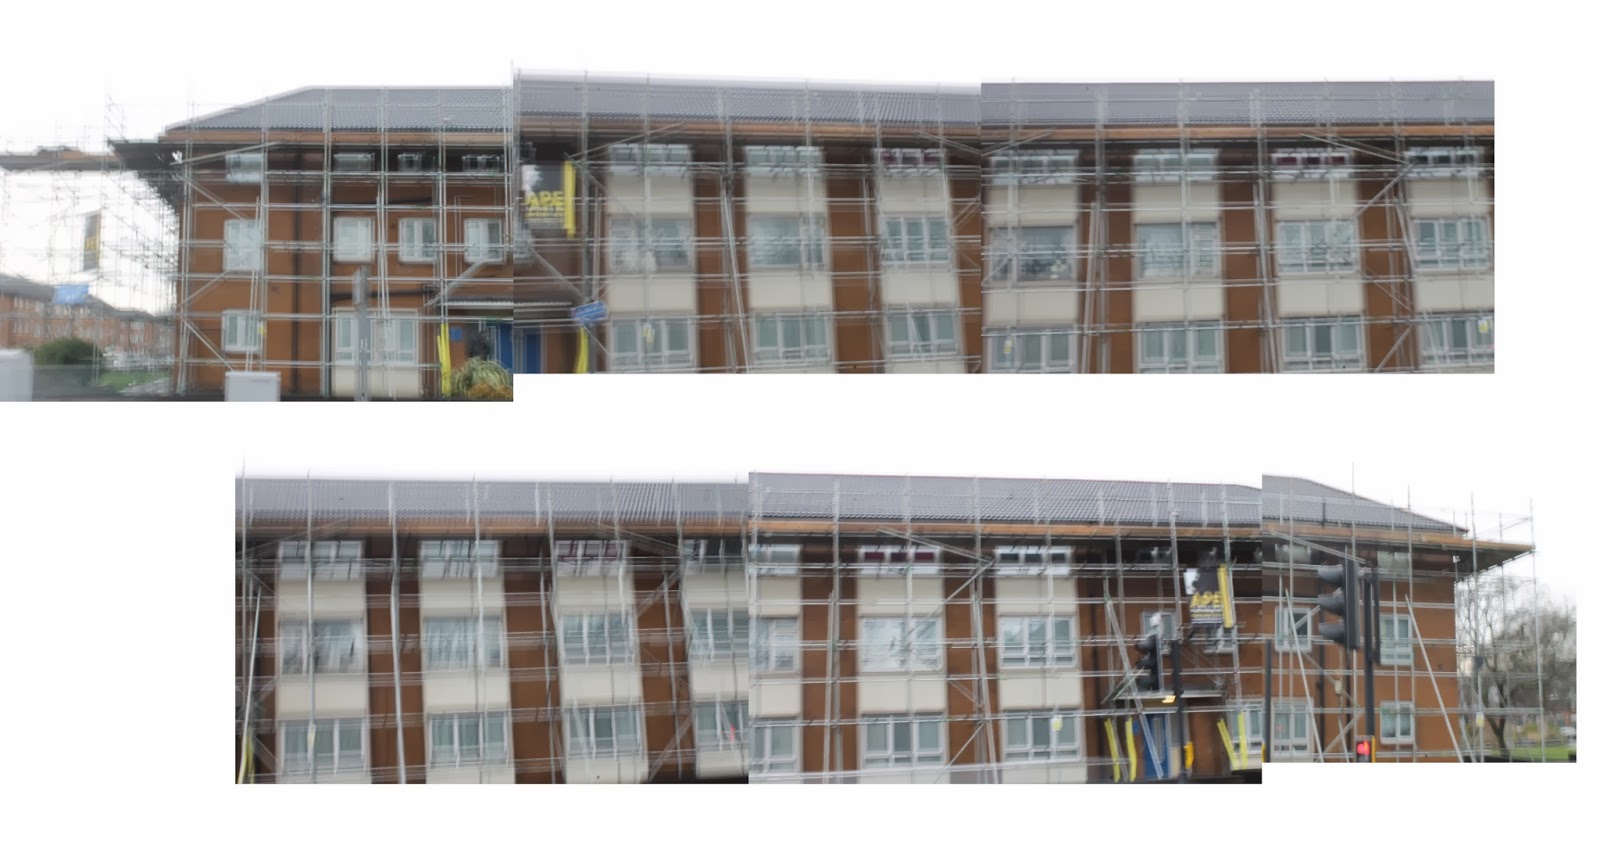
This week I had been drawing over one of the photographs that I had taken last week. I had drawn simple shape using the Pen tool and during my spare time I had updated the picture using the Paintbrush tool and here is the result so far.
As you can see I haven't finished this picture yet, so I may need to have it finished by next Tuesday.


 Last Thursday I came to college to practice using Adobe Illustrator so that I may have practiced my skills ready for when I have Graphics by Tuesday. Here are some pictures that I had made.


(Entry 4: 11.02.2014)
Last week I was experimenting with the brush tools to add in more details to the foreground of my picture.

I added in some detail into the bushes by creating a new layer, toned down it's opacity, used the calligraphic brush tool to paint in the details for the bushes and due to fact I used different shades of the same colour on each bush, I used select >same>fill colour to move around the dots.


I also tried using the charcoal brush tool to draw in the branches in the bush without it's leaves. I also used the mop tool to draw the clouds in the sky.


At first the clouds were small because I was drawing in bits of the cloud one by one.


 But then I decided to redo the clouds by increasing the stroke of the mop tool and redraw the clouds again.

Unfortunately the clouds wounded up looking like swirly squiggles, so they just ended up looking messy.


So today (11.02.2014) from taking my tutors advice I had to get rid of all the squiggly lines, left one line in just so that I could try making it wider and thicker, but it didn't work so I got rid of it. So instead I increased the brush tool stroke, drew in three new lines for the clouds, and moved them around and that was it, the clouds were finished and the picture looks almost done.

(Entry 5: 13.02.2014)
(Writer's note: Even though it's today is the start of half-term, I have come back to work on the rest of this blog post for my tutor. So here is the rest of my evaluation on Adobe Bridge.)

By the time of writing this post, I had not finished of my townscape picture on Adobe Bridge, but I did however drawn a simple picture by using Pathfinder.
I had drawn a simple circle using the ellipse tool.


Added in a pentagon by using the Polygon tool.

And last, but certainly not least, I used Pathfinder, clicked on one of the Shape Modes and combined the two shapes into one entirely different shape all together.

And that for now concludes my exploration and evaluation of Adobe Illustrator, stay tuned for when I get around to updating this post when I get back to college after the half term holidays.
(I'll be of to Swansy in Wales with my parents in case were wondering.)
So until then, I'll see you later. BYE!!!!